How to Clean Rusted Tools: 7 Proven Methods (2025 Guide)
Why Rust Happens and Why It Matters
We've all been there: you reach for your favorite wrench or screwdriver, only to find it coated in that telltale reddish-brown crud. That sinking feeling is universal among DIYers and professionals alike, but here's the truth: those tools aren't garbage yet.
Rust forms through a straightforward chemical process. When iron or steel meets oxygen and moisture, oxidation takes over, according to The Home Depot. Think of it as your tools slowly returning to their natural state, one molecule at a time. It's not personal, it's just chemistry working against you.
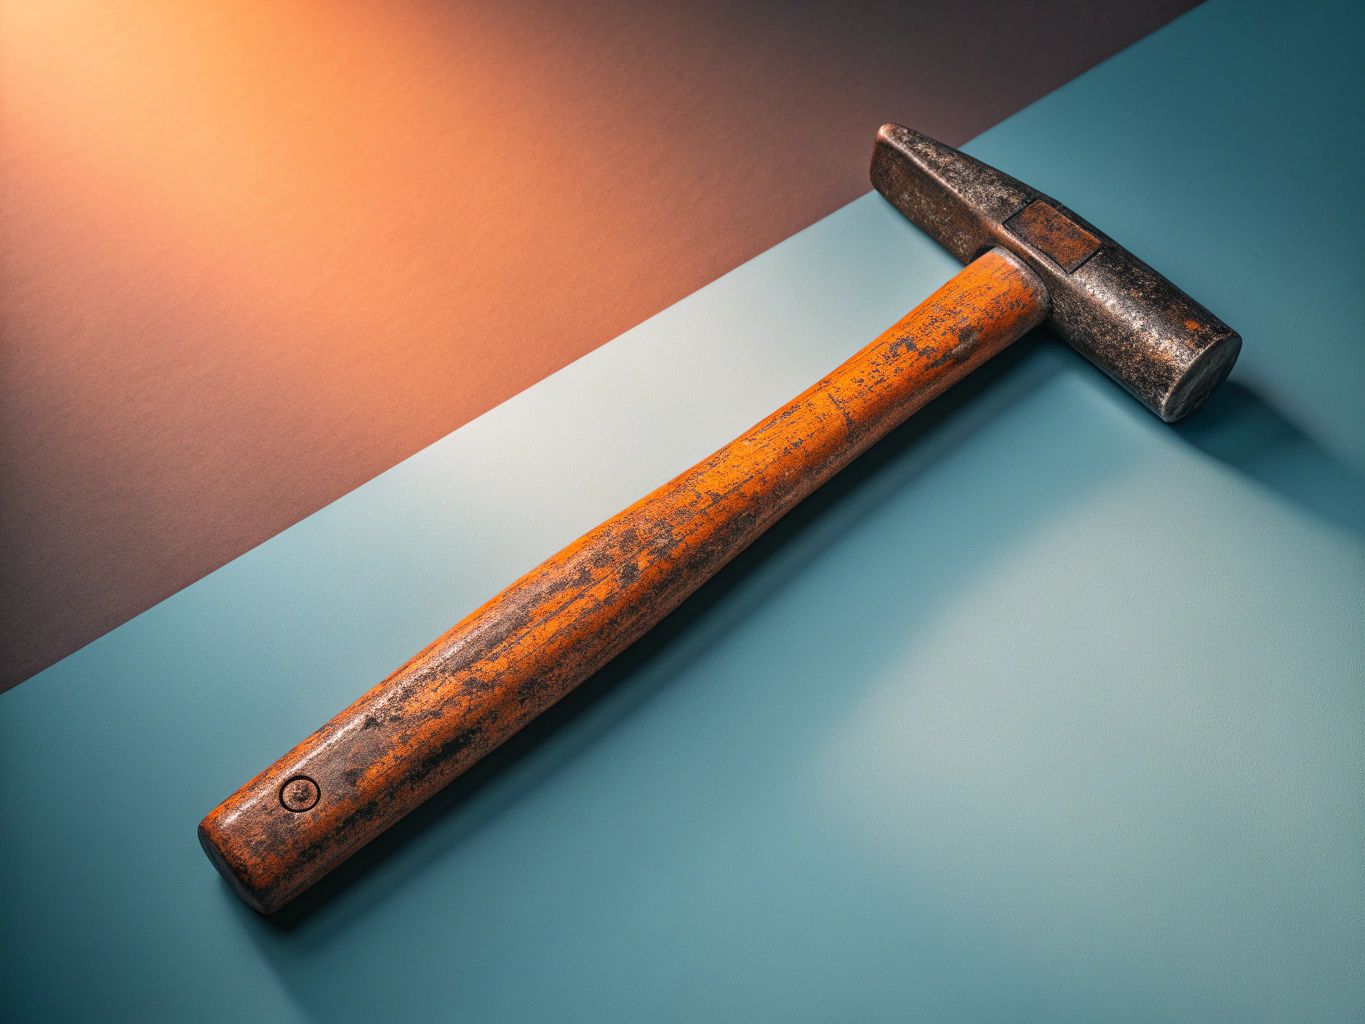
But why should you care beyond appearances? Rust isn't just ugly. Experts at This Old House explain that corroded tools perform poorly, look neglected, and create genuine safety hazards when weakened metal suddenly snaps mid-task. Industry professionals warn that losing quality tools to rust hits your wallet hard and puts you at risk if a compromised tool fails under pressure.
The good news? You don't need expensive equipment or specialized knowledge to win this battle. From pantry staples like vinegar to more advanced techniques like electrolysis, there's a rust removal method that fits your budget, skill level, and the severity of corrosion you're facing. Let's explore your options.
Method 1: The Vinegar and Salt Soak (Best for Budget-Conscious DIYers)
White vinegar isn't just for salad dressing. It's the ultimate budget-friendly rust remover that works surprisingly well. As Backwoods Home Magazine notes, white vinegar contains 5% acetic acid and can be purchased on sale for less than a dollar per gallon. Compare that to $20 for commercial rust removers, and you've got a no-brainer solution.
Why This Works
The acetic acid in vinegar dissolves iron oxide (rust) through a chemical reaction. University of Hawaii research confirms that acetic acid is an effective rust remover. Adding salt supercharges this process. According to Instructables, salt increases the acidity in the vinegar solution and lets it break down rust even faster, using 1/2 oz salt per cup of vinegar.
Step-by-Step Process
Start with the right ratio. The Home Depot recommends using 1/4 cup of salt per liter of white vinegar. Pour this mixture into a plastic container large enough to submerge your tools completely.
For light surface rust, 12 to 24 hours does the trick. Heavy rust needs patience: leave tools soaking for up to 3 days. Check progress daily and scrub with a wire brush or steel wool to remove loosened rust.
The Critical Neutralization Step
Here's where people mess up. After removing tools from the vinegar bath, you must neutralize the acid immediately. Mix baking soda with water to create a paste, then coat the tools thoroughly. This stops the acid from continuing to eat at the metal and prevents flash rust from forming within hours.
Large Tool Tip
Can't submerge a shovel or axe? Soak paper towels in the vinegar solution and wrap them around rusted areas. Cover with plastic wrap to prevent evaporation, then follow the same timing guidelines.
Method 2: Baking Soda Paste (Perfect for Spot Treatment)
Baking soda paste shines when you're dealing with small rust spots or surface stains that don't warrant submerging an entire tool. Think rust on a wrench handle, spots on pliers, or light oxidation on a hammer head. This method lets you target problem areas without the waiting time of a full vinegar soak.
The formula couldn't be simpler. The Home Depot suggests using a one-to-one ratio of baking soda to water to make a paste. Mix it in a small bowl until you get a consistency like toothpaste, thick enough to cling to vertical surfaces.
Apply the paste directly to rusted areas with your fingers or a cloth, making sure you cover the rust completely. Let it sit for about two hours (longer won't hurt for stubborn spots). Then grab an old toothbrush or wire brush and scrub in circular motions. The rust should lift away with moderate pressure.
Why does this work? According to rust removal experts, baking soda is a mild abrasive that can loosen and scrub away rust particles while neutralizing acidic substances. It's gentle enough that you won't damage underlying metal, but effective enough for light to moderate surface rust.
Choose this method over vinegar when you need quick spot treatment, when the rust is superficial, or when you can't easily submerge the tool. For heavy corrosion covering large areas, skip ahead to more aggressive methods.
Method 3: Commercial Rust Removers (When Time Matters)
When you need results faster than vinegar can deliver, commercial rust removers offer a clear trade-off: pay more, work less. But not all products work the same way, and understanding the differences helps you choose wisely.
Chelating vs. Acid-Based: Two Different Approaches
Chelating removers like Evapo-Rust use chemistry that binds to rust molecules without harming base metal. Backwoods Home Magazine reports that Evapo-Rust costs about $20 per gallon and can be saved for reuse until it gets saturated. The real advantage? You can soak tools without worry. Testing by Bob Vila found that Evapo-Rust removes corrosion in minutes for light rust and overnight for heavy rust, and the formula is reusable multiple times. No gloves, no fumes, no drama.
Acid-based products like Naval Jelly and CLR Pro take a more aggressive approach. According to Bob Vila's product testing, CLR Pro combines lactic and gluconic acids and works so fast that corrosion seems to melt away within seconds. That speed comes with requirements: The Home Depot advises that oxalic acid, a commercial rust remover that dissolves rust quickly, requires rubber gloves, eye protection, and a well-ventilated area.
When Commercial Makes Sense
If you're restoring one or two tools, vinegar wins on cost. But for multiple projects or valuable antiques where time matters, commercial removers justify their price. A gallon of Evapo-Rust handles dozens of tools and lasts months. Acid-based products work when you need immediate results and don't mind the safety protocols.
The reusability factor tips the scales for chelating removers. Pour it back in the bottle after each use, and suddenly that $20 investment stretches across your entire workshop collection. Acid products typically work once and you're done, making them better for quick, one-off jobs than ongoing restoration work.
Method 4: Electrolysis (The Advanced Technique for Serious Restorers)
For serious tool collectors and restoration enthusiasts, electrolysis represents the gold standard of rust removal. This method uses electrical current to literally reverse the oxidation process, transferring rust molecules from your tool to a sacrificial piece of steel. The best part? As Family Handyman explains, electrolysis is self-regulating, which means once the rust is removed it stops working and doesn't eat away or damage the metal.
The setup requires specific equipment but nothing you can't source easily. Today's Homeowner recommends using washing soda (sodium carbonate) as the electrolyte, with one tablespoon per gallon of water, and a basic 12-volt car battery charger. You'll also need a plastic container large enough for your tool, a piece of rebar or scrap steel as your sacrificial anode, and copper wire for connections.
Here's how to set it up safely: Fill your plastic container with water and dissolve the washing soda completely. Suspend your rusted tool in the solution using copper wire, ensuring it doesn't touch the sides or bottom. Position your sacrificial steel anode (the rebar) on the opposite side. Connect the battery charger's positive clamp to the anode and the negative clamp to your tool. When you power on the charger, you'll see bubbles forming as the process begins.
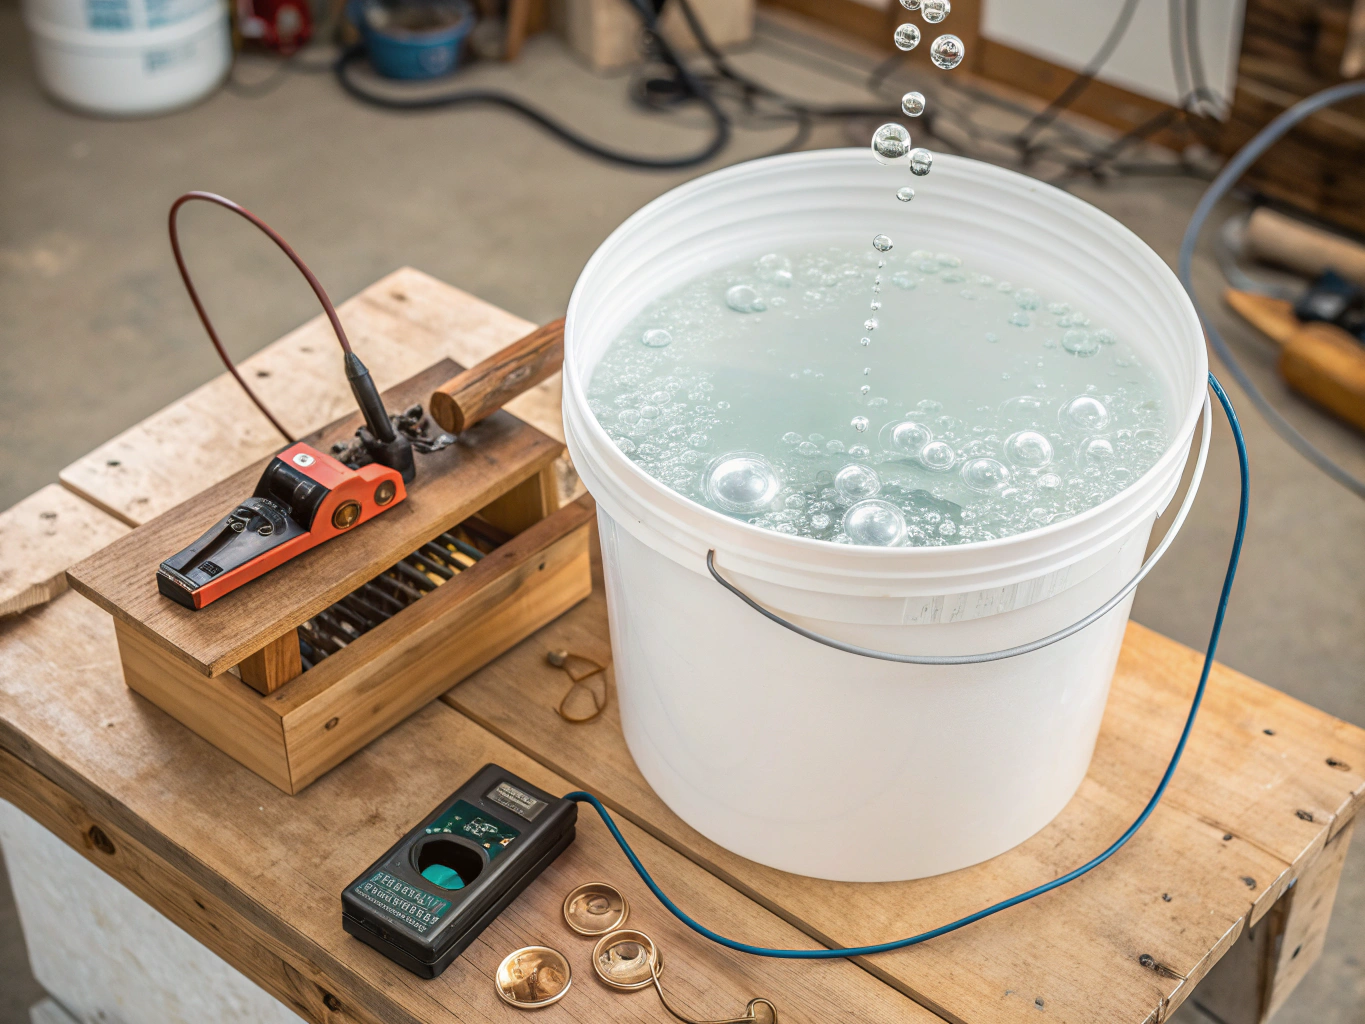
Critical safety warning: Safety experts warn you should never use stainless steel for electrodes as the chrome will leach out and form hexavalent chromium compounds in your electrolyte. This carcinogenic substance is extremely dangerous. Stick with plain carbon steel or rebar only. Also, work in a ventilated area since the process produces hydrogen gas.
Why go through this effort? Woodworking experts note that the beauty of using electrolysis for rust removal is that you're not abrading the tool and removing metal, making it perfect for valuable antiques. The process preserves original maker's marks, patent stamps, and the tool's original dimensions perfectly intact.
After the Clean: Preventing Flash Rust and Protecting Your Tools
Here's the hard truth: you can spend hours removing rust, but if you skip the next 15 minutes, you'll be back where you started. Freshly cleaned metal is incredibly vulnerable to flash rust, a rapid re-oxidation that begins the moment bare metal meets air and moisture. I've watched tools develop orange spots in under an hour after a thorough cleaning because I got distracted before applying protection.
The clock starts ticking as soon as your tool is dry. After any rust removal method, dry the metal completely with clean towels or compressed air, paying special attention to crevices and threaded areas where water hides. Then immediately apply protection. Instructables recommends working WD-40 into all surfaces with a rag, ensuring you reach moving parts and tight spots. WD-40 displaces any remaining moisture, which is why it's perfect for that first application.
For longer-lasting protection, you need more than water displacement. Family Handyman advises applying oil or paste wax to enrich the metal and prevent future rust. Machine oil works well for power tools and mechanics' equipment, while paste wax is the gold standard for woodworking tools since it won't transfer to your projects.
For tools that live in harsh environments, consider serious armor. This Old House suggests rust inhibitor spray for comprehensive coverage, paste wax for frequently handled surfaces, or rust-resistant paint for exposed metal parts that don't need to stay bare. The key is applying protection while the metal is still warm from cleaning, before oxidation gets a foothold.
Prevention Strategies: Keep Rust from Coming Back
You've put in the work to restore your tools. Now let's make sure that rust never returns.
The single most important factor? Control your storage environment. This Old House recommends storing tools in a dry, climate-controlled space off the ground, preferably in a tool chest or on a pegboard. If your workshop or garage tends to feel damp, invest in a dehumidifier. Professionals advise that a dehumidifier can help you better control your storage area's climate and reduce humidity to keep metal tools in top shape for years. It's the difference between occasional rust spots and pristine tools that last decades.
Inside your toolboxes and drawers, experts suggest using silica gel packets to absorb moisture and prevent rust buildup. Replace these every few months, or when they change color. Avoid storing tools in leather pouches or cloth rolls that can trap moisture against metal surfaces.
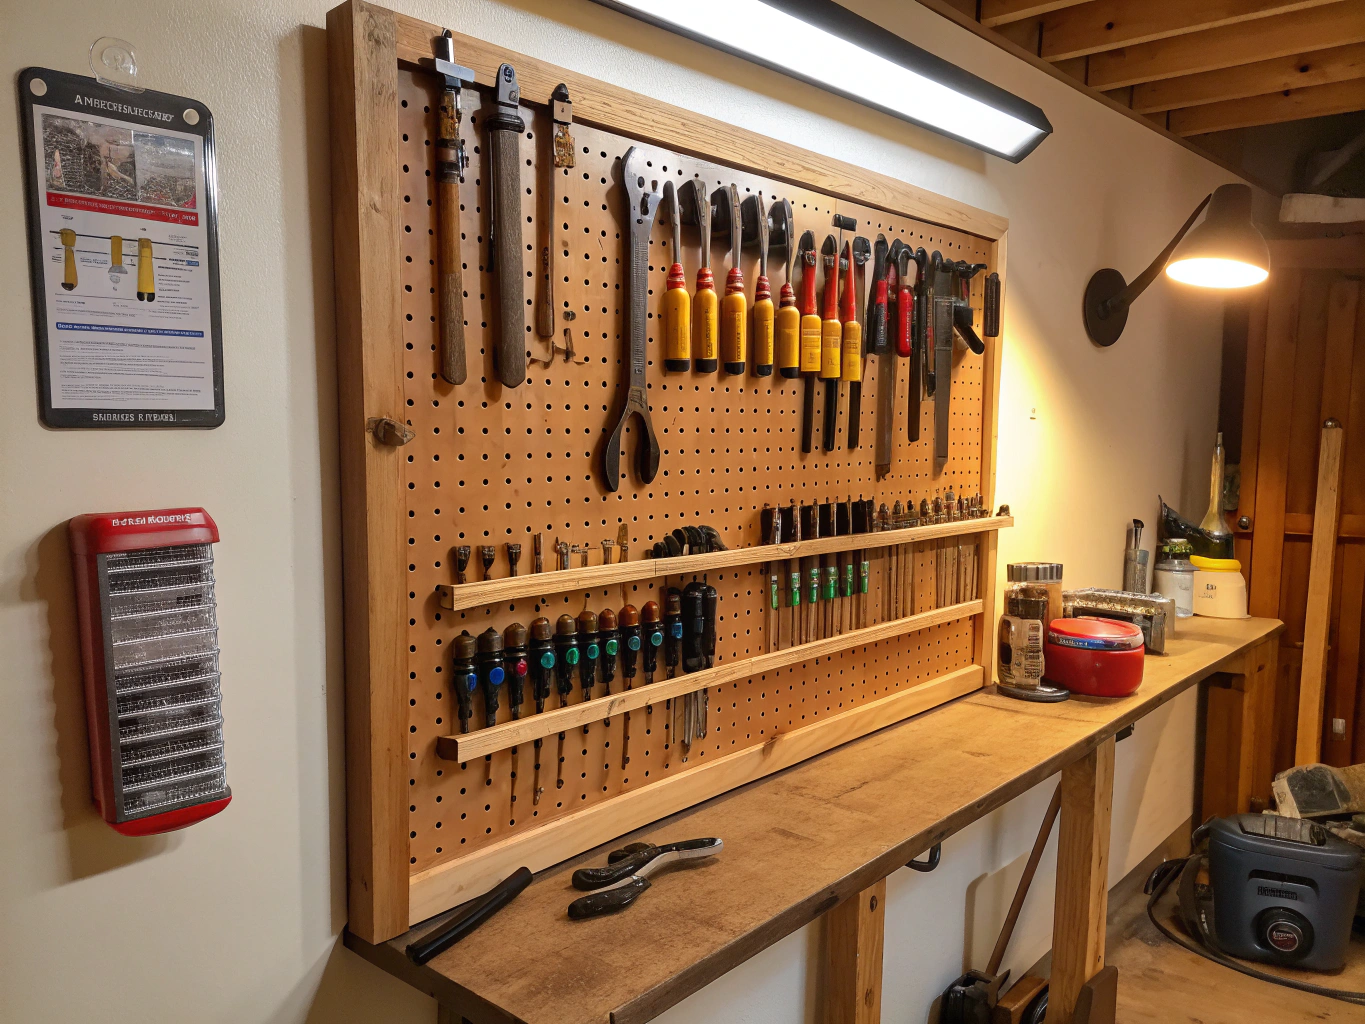
Build a simple maintenance routine: maintenance experts recommend cleaning and drying tools after each use, especially if exposed to moisture, and applying a light coat of machine oil or WD-40 to metal surfaces periodically. A quick wipe-down takes 30 seconds but adds years to your tools' lifespan.
For advanced protection, consider VCI (vapor corrosion inhibiting) products. According to corrosion prevention specialists, these coat metals with a molecule-thin layer of corrosion-inhibiting vapor that protects against moisture and air. VCI drawer liners, bags, and chips create an invisible shield around your tools without any oily residue. They're particularly valuable for long-term storage of precision instruments or collectible hand tools.
Author
FirstSearch.AI Team