How to Clean Tools from Rust: Ultimate 2025 Guide
Why Rust Removal Matters: The Hidden Cost of Tool Corrosion
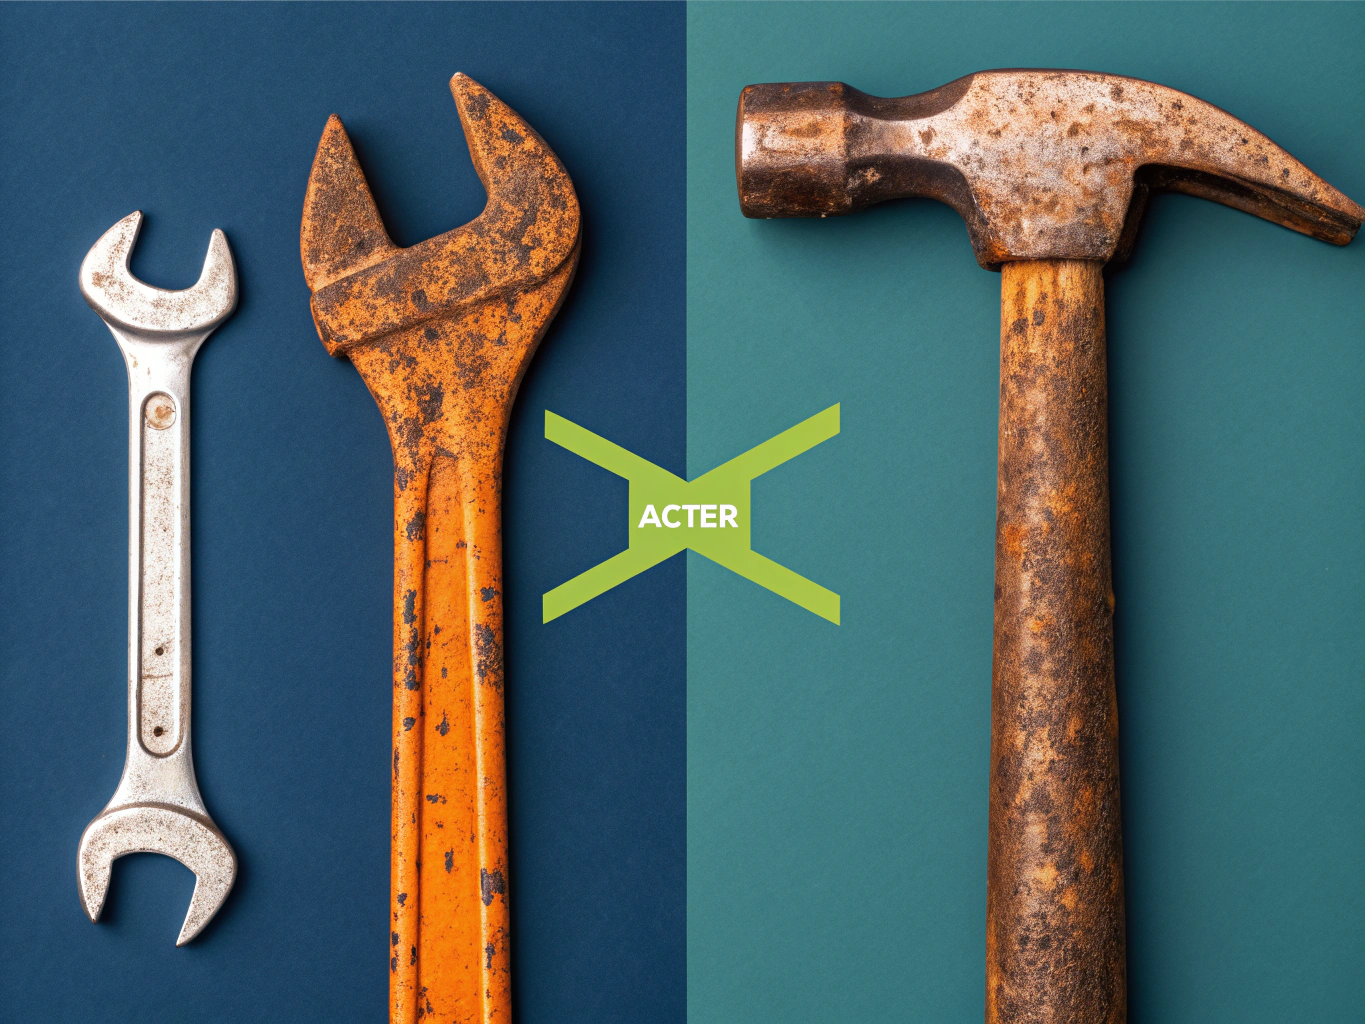
The numbers are staggering. Corrosion costs the global economy $2.5 trillion annually, according to NACE International, equivalent to 3.4% of worldwide GDP. While that includes everything from bridges to pipelines, your garage or workshop tells the same story on a smaller scale. Those rusty wrenches, corroded screwdrivers, and oxidized pliers represent money literally dissolving before your eyes.
Here's the good news: you probably don't need to throw them away. That vintage socket set your grandfather left you? Salvageable. The drill bits that sat in a damp basement all winter? Likely recoverable. Most rust damage is reversible unless corrosion has eaten completely through the metal, creating structural holes or compromising the tool's integrity. Even heavily rusted tools can often be restored to working condition with the right approach.
Beyond the financial waste, experts warn that rust can be dangerous when a weakened tool breaks mid-use. Learning how to clean tools from rust isn't just about saving money. It's about safety, sustainability, and maintaining the quality of your equipment.
This guide walks you through seven proven rust removal methods, starting with simple pantry ingredients that cost pennies and progressing to advanced electrolysis techniques for serious restoration projects. Whether you're dealing with surface oxidation or decades-old corrosion, you'll find a solution that matches your budget, skill level, and the severity of the rust. Most importantly, we'll show you how to prevent rust from returning, potentially saving thousands in replacement costs over your lifetime.
Understanding Rust: What You're Actually Fighting
Before you grab that wire brush, let's talk about what you're actually dealing with. Rust is iron oxide—a chemical reaction that happens when iron reacts with water and oxygen, according to Home Depot's tool experts. It's not just dirt sitting on your tools; it's a transformation of the metal itself.
The good news? Rust doesn't happen overnight. Research shows that with direct, continued exposure to water and oxygen, rust can form in 4-5 days. That gives you a window to prevent it, but once it starts, it spreads fast.
Here's what matters for your restoration project: surface rust is your friend. This thin, brownish-orange layer sits on top of the metal and responds well to almost any removal method we'll cover. You're looking at a salvageable tool.
Deep rust with pitting is different. When you see holes, flaking metal, or structural damage, the oxidation has eaten through the material. These tools aren't just ugly—they're potentially dangerous. A corroded wrench can snap under pressure, and a pitted screwdriver can slip and cause injury.
The assessment is simple: if the metal structure looks compromised, recycle it and move on. Your time is worth more than a $10 replacement tool.
Method 1: Manual Rust Removal (Sanding & Scrubbing)
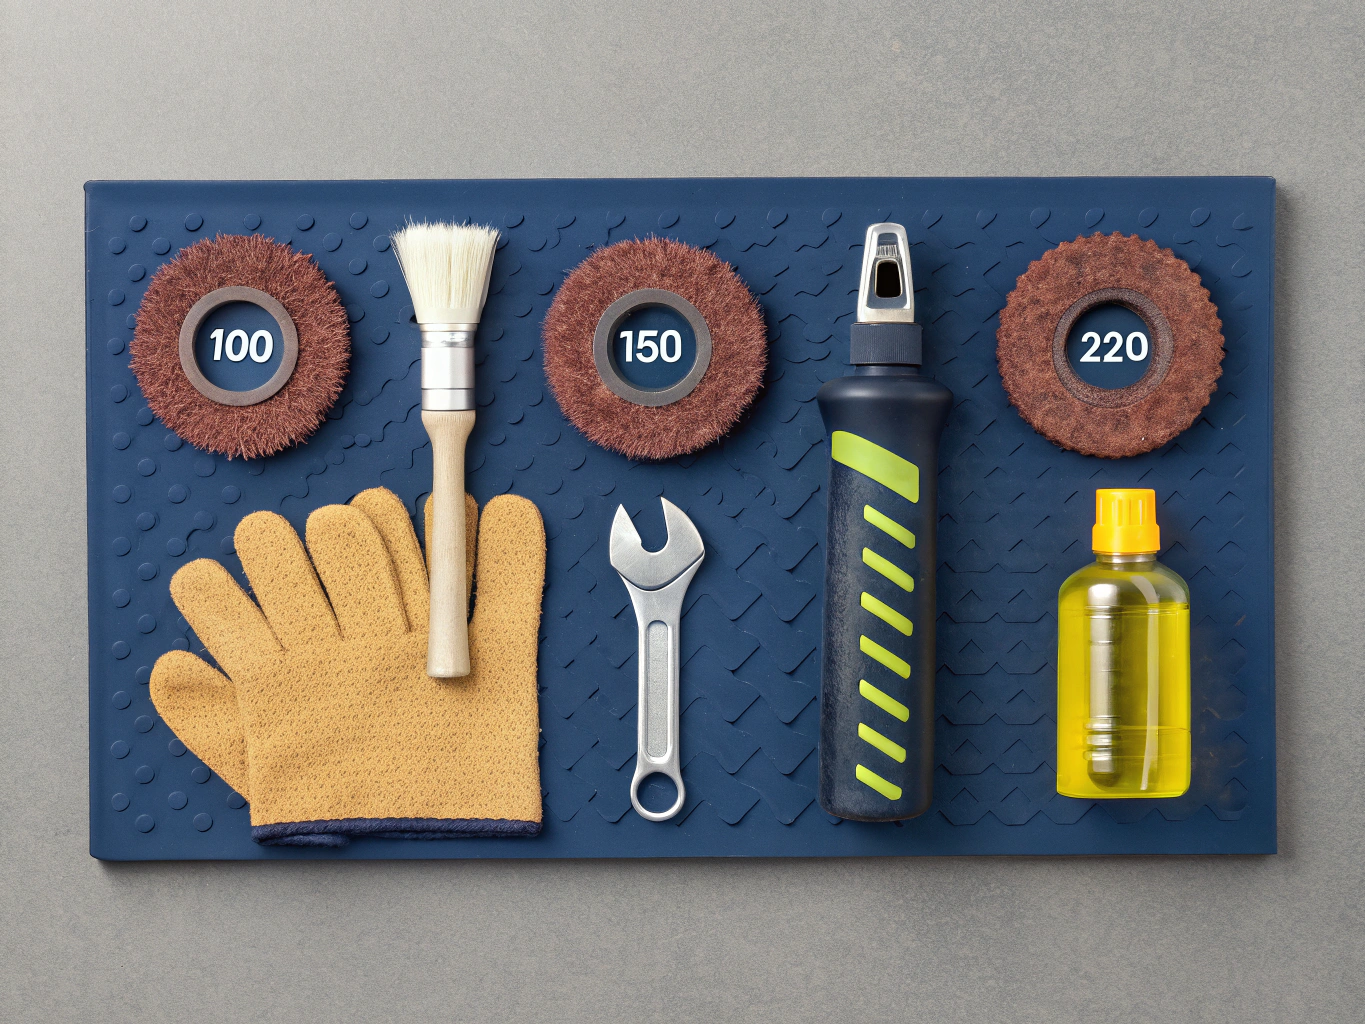
Manual rust removal is your fastest path to results when dealing with light to moderate surface rust. No chemicals, no waiting, just elbow grease and the right technique.
Start by cleaning your tools with dish soap and water to remove grease, dirt, and grime. This prevents you from grinding contaminants into the metal surface. Dry thoroughly before moving forward.
For the actual rust removal, tool maintenance professionals recommend starting with sandpaper or steel wool for light rust. Begin with 100-grit sandpaper for heavier rust spots, applying moderate pressure in circular motions. You'll see orange dust as the rust breaks away. Progress to 150-grit, then finish with 220-grit or higher for a smooth surface. This gradual progression prevents deep scratches that can harbor future rust.
Steel wool works brilliantly on textured surfaces where sandpaper can't reach properly. Grade 0 or 00 steel wool handles most jobs without being overly aggressive. Wire brushes excel at getting into threaded areas, joints, and crevices, though they leave a rougher finish.
Critical warning for precision tools: Hand planes, calipers, micrometers, and measuring squares need gentler treatment. Skip the coarse grits entirely and start with 220-grit or finer. Better yet, consider chemical methods for these tools to preserve their calibrated surfaces.
This method works best when rust hasn't created deep pitting. Once you hit bare metal, wipe down with mineral spirits and apply a protective coating immediately. Exposed metal rusts quickly.
Method 2: The Vinegar & Salt Soak (Most Popular DIY Method)
There's a reason this method has become the go-to solution for rust removal—it works incredibly well and costs less than a fancy coffee. The secret lies in acetic acid, the active ingredient in white vinegar, which chemically dissolves iron oxide (rust) without damaging the underlying metal. When confirmed by University of Hawaii research, this household staple proves you don't need expensive commercial products for impressive results.
The Perfect Formula
Don't just dump your tools in straight vinegar. For maximum effectiveness, use exactly 1/4 cup of salt per liter of white vinegar, as recommended by Home Depot. The salt isn't just there for show—studies show it enhances the vinegar's acidity by approximately 20%, cutting through stubborn rust deposits much faster.
Step-by-Step Process
- Mix your solution in a plastic container large enough to fully submerge your tools
- Stir vigorously until the salt completely dissolves
- Submerge rusty tools, ensuring they're entirely covered
- Let them soak for 1-3 days, checking progress at 24-hour intervals
Light surface rust typically disappears within 24 hours, while heavily corroded tools may need the full three days. Patience pays off here—resist the urge to scrub prematurely.
The Critical Neutralization Step
Here's where most people mess up: they skip neutralization and wonder why their freshly cleaned tools develop new rust within hours. This "flash rust" happens because residual acidity continues reacting with bare metal.
After removing tools from the vinegar bath, immediately submerge them in a baking soda solution (1 cup per gallon of water) for exactly 10 minutes. This neutralizes the acid completely. Scrub off any remaining rust residue with a brass brush, then rinse thoroughly with clean water.
Finishing Touches
Dry tools immediately with compressed air or a clean cloth—even a few minutes of moisture exposure invites flash rust. Apply a thin coat of 3-in-1 oil, WD-40, or mineral oil while the metal is still slightly warm from friction drying. This creates a protective barrier that keeps oxygen away from the vulnerable surface.
Method 3: Baking Soda Paste & Other Household Solutions
While vinegar works wonders for heavily rusted tools, sometimes you need quicker solutions for spot treatments or lighter rust. Your kitchen likely has everything you need.
Baking Soda Paste creates a gentle abrasive that tackles small rust spots without the overnight wait. Mix equal parts baking soda and water until you get a thick, spreadable consistency. Apply it directly to rusted areas, let it sit for 2-3 hours, then scrub with a wire brush or steel wool. This method shines when you're dealing with isolated rust patches rather than completely compromised tools.
Lemon Juice and Salt delivers citric acid punch for stubborn spots. Sprinkle coarse salt over the rust, squeeze fresh lemon juice on top, and let the chemical reaction do its work for 2-3 hours. The salt acts as a mild abrasive while the acid dissolves rust. It's particularly effective on flat surfaces like saw blades or chisel backs.
WD-40 takes a different approach—instead of dissolving rust, it loosens the bonds between rust and metal surface according to rust removal experts. Spray it on, wait 10 minutes, then wipe away light surface rust. It won't handle heavy corrosion, but it's perfect for maintenance and prevention.
Here's the reality: these household methods work best as complementary tools, not replacements for vinegar soaking. Use them for quick fixes, localized rust, or when you need a tool back in service fast. For anything beyond surface-level rust, you'll want the extended soak time that vinegar provides.
Method 4: Commercial Rust Removers & Electrolysis (Advanced Options)
When home remedies aren't cutting it, commercial rust removers offer a significant step up in effectiveness. Products like Evaporust stand out because they're non-toxic, reusable, and require zero scrubbing—just submerge your tools and wait. A single gallon can be reused multiple times, making it surprisingly economical for anyone dealing with multiple rusty tools. The catch? It works slowly, often requiring 24 hours for moderate rust.
For faster results, oxalic acid-based removers dissolve heavy rust in minutes rather than hours. You'll find it in products like Bar Keeper's Friend or as pure powder from hardware stores. Mix it with water, apply to rusted areas, and watch the rust disappear. However, oxalic acid demands respect—always wear gloves and eye protection, work in ventilated areas, and never mix it with other chemicals.
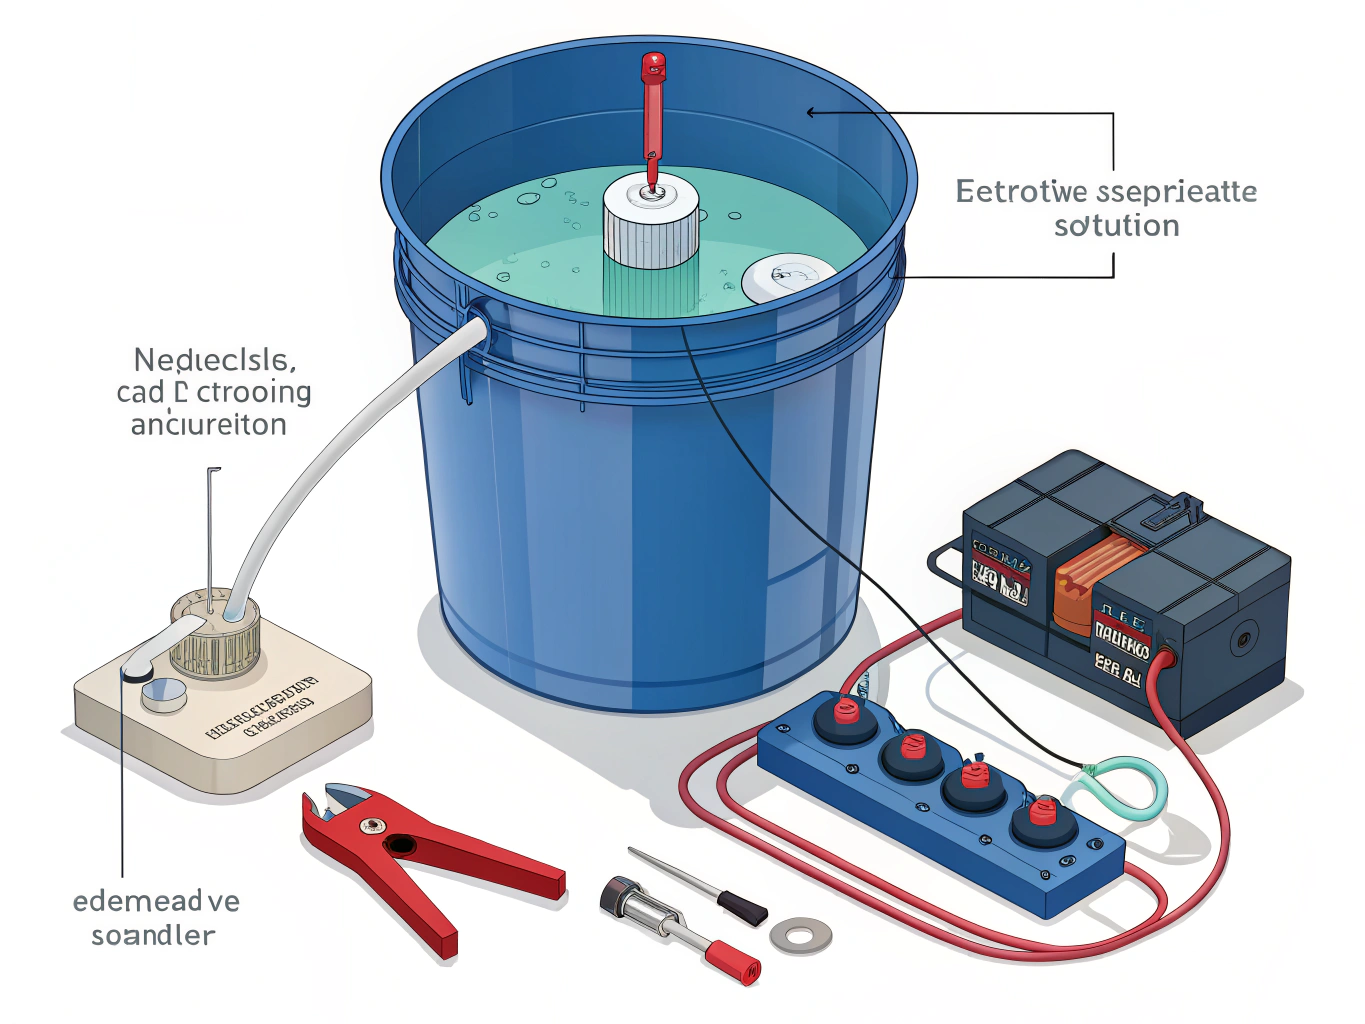
The ultimate solution for seriously rusted tools is electrolysis. This method uses electrical current to reverse rust formation at the molecular level. The beauty of electrolysis is that it's self-regulating and stops working once rust is removed, according to restoration experts, meaning you can't accidentally damage the base metal.
Setting up electrolysis requires a plastic bucket, washing soda (sodium carbonate), a battery charger, and sacrificial steel like rebar. Fill the bucket with water, add washing soda, connect the negative terminal to your tool and the positive to the sacrificial steel. Run it at 10 amps for 15-20 hours depending on rust severity. The process reaches every crevice without abrasion, making it ideal for intricate tools or antiques where preserving the original surface matters.
Rust Prevention: Keep Your Tools Clean Long-Term
The best rust removal technique is the one you never have to use. Prevention isn't complicated—it's about building simple habits that become automatic.
Start with the basics: clean and dry your tools immediately after each use. Water is rust's best friend, so don't give it a chance to settle. A quick wipe-down takes 30 seconds but prevents hours of restoration work later. Maintenance experts recommend applying a light coat of machine oil or WD-40 to metal surfaces periodically, especially after moisture exposure.
Storage matters more than most people realize. Keep tools off concrete floors where condensation collects. A climate-controlled environment is ideal, but if that's not possible, focus on moisture control. Throw silica gel packets in your toolboxes—they're cheap insurance that absorbs ambient humidity before it reaches your tools.
For serious protection, consider VCI (Vapor Corrosion Inhibitor) products. These emit molecules that form an invisible protective layer on metal surfaces. According to corrosion prevention specialists, VpCI inhibitors create a molecular barrier that interrupts the normal corrosion reaction. VCI emitters or drawer liners cost $15-30 and protect entire toolboxes for months.
Here's what not to do: avoid storing tools in leather or cloth pouches. These materials trap moisture against metal surfaces, creating perfect conditions for rust. If you must use pouches for transport, remove tools when you get home.
The math is simple. Regular maintenance can reduce corrosion-related costs by 25-30%. Five minutes of prevention beats an hour of restoration every time.
Quick Reference: Choosing the Right Rust Removal Method
Choose your rust removal strategy based on what you're dealing with. For light surface rust on hand tools, grab 220-grit sandpaper or mix baking soda with water into a paste—you'll spend under $10 and finish in under an hour. Moderate rust responds well to a vinegar and salt soak over 1-3 days for the same budget, though you'll need patience.
Heavy rust demands either commercial rust removers like Evapo-Rust ($20-40) or an electrolysis setup ($50-100 for reusable equipment). Electrolysis wins for multiple tools since you're building a system, not buying consumables. If you're working with precision tools—micrometers, calipers, or antique hand planes—skip the sandpaper entirely. Chemical soaks or electrolysis preserve tolerances that aggressive scrubbing destroys.
Need a quick fix for small rust spots? WD-40 and fine steel wool (#0000) work in minutes for about $10 combined. This isn't a deep restoration method, but it's perfect when you need a wrench functional today, not next week. Match your method to your timeline and tool value—not every rusty screwdriver deserves a three-day spa treatment.
Author
FirstSearch.AI Team