How to Clean Tools with Rust: Complete 2025 Guide
Understanding Rust: Why Your Tools Are Corroding
You open your toolbox and there it is: that telltale orange-brown coating on your favorite wrench. Frustrating? Absolutely. But here's the good news: rust isn't a death sentence for your tools.
Let's talk about what's actually happening to your metal. Rust forms according to The Home Depot's rust removal guide through a straightforward chemical reaction: water plus oxygen plus iron or steel equals iron oxide. That's rust. Leave your tools in a damp garage or forget to dry them after a rainy job site, and you're essentially inviting this reaction to dinner.
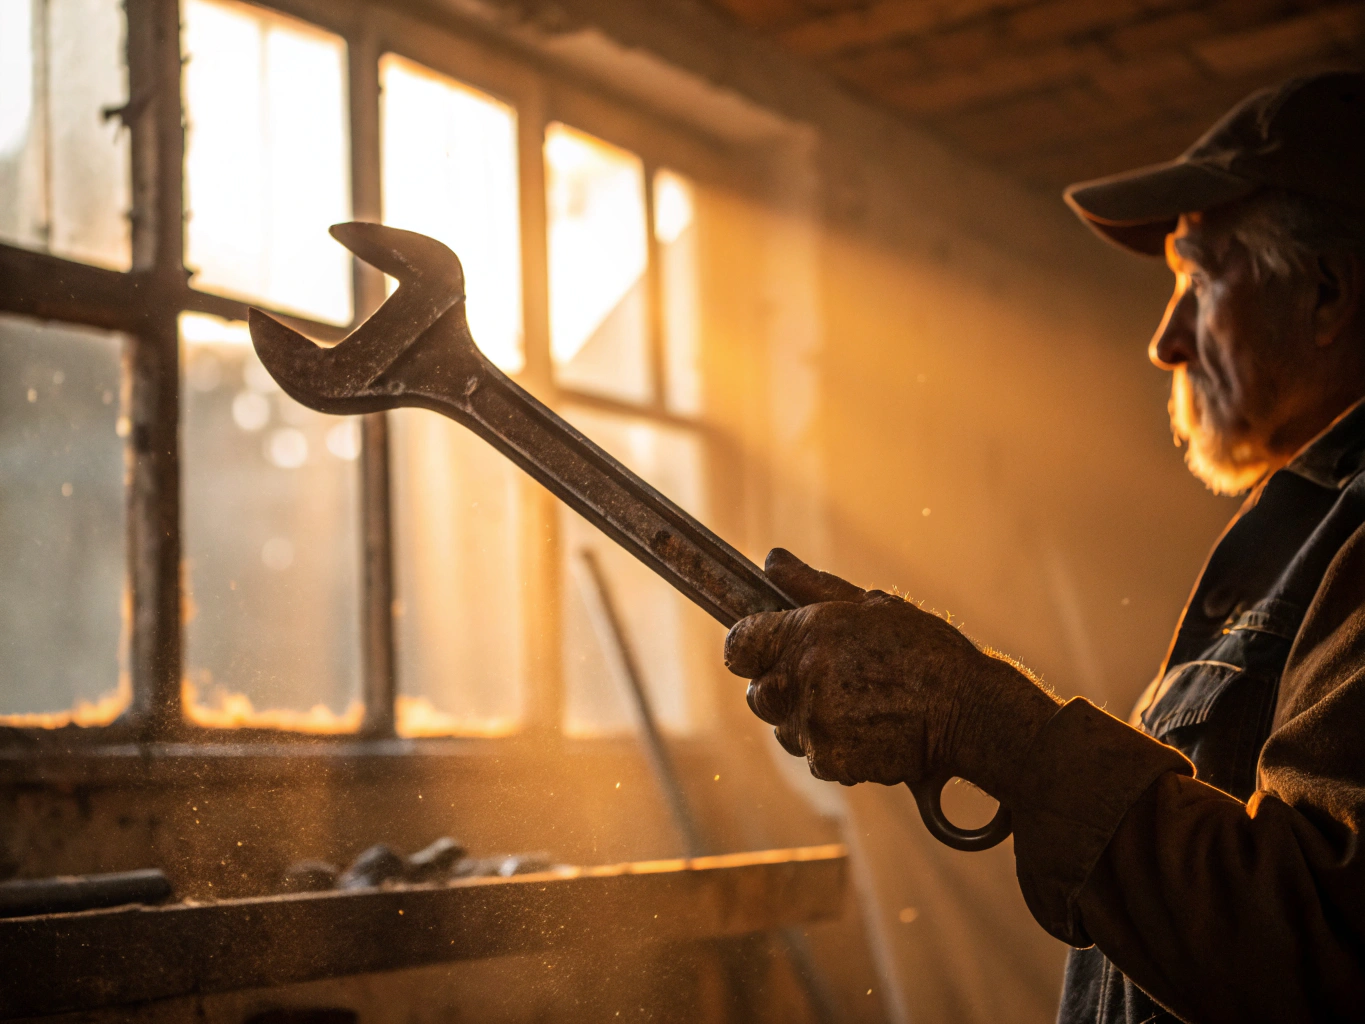
But rust isn't just an eyesore. This matters because experts at This Old House warn that rust causes pitting and weakening of the metal structure, creating genuine safety hazards and potential tool failure during use. A corroded socket wrench that slips under pressure isn't just annoying; it's dangerous.
The financial hit adds up too. Industry research shows growing awareness of the economic effects of rust and corrosion is pushing more people toward budget-friendly maintenance techniques. Translation: learning to clean rusty tools costs far less than constantly replacing them.
Here's your permission to relax: most rusted tools can be saved if you catch them before severe structural damage sets in. The methods we're covering next work on everything from surface rust to moderate corrosion.
Assessing Your Rust Situation: Light, Medium, or Heavy
Before you grab any rust remover, take sixty seconds to diagnose what you're dealing with. This assessment will save you time and prevent you from using methods that are either too weak or unnecessarily aggressive.
Light surface rust appears as a thin orange-brown film with fine dust that rubs off on your fingers. You'll see discoloration but the metal underneath feels smooth. This is the easiest category to tackle.
Medium rust shows visible flaking, bubbling texture, and covers larger patches of your tool. The corrosion has begun eating into the metal surface but hasn't created deep craters yet. You'll need more than a quick wipe-down here.
Heavy rust means deep pitting, thick crusty layers, and possible structural weakness. If you can see holes or the metal feels rough and cratered, you're in this category. Some tools at this stage may not be worth saving.
Here's the critical part: precision tools demand gentler approaches regardless of rust severity. As craftsman Keith Mazzarello advises, don't use overaggressive methods on tools that require accuracy like hand planes and table saws, as a rough approach can ruin them. A rusty shovel can handle wire brushing; a micrometer cannot.
Testing different methods on similar rust levels helps you find what works best. Real-world testing by Apartment Therapy rated approaches on effectiveness, time required, and effort level, which matters when you're deciding between a five-minute fix and an overnight soak.
The Vinegar Method: Your Go-To Rust Removal Solution
Vinegar isn't just for salad dressing. The acetic acid it contains dissolves iron oxide chemically, making it one of the most reliable rust removal methods you'll find. Research from the University of Hawaii confirms what workshop veterans have known for decades: this pantry staple really works.
Here's your formula: The Home Depot recommends using 1/4 cup of salt per liter of white vinegar. The salt acts as a mild abrasive and electrolyte, speeding up the chemical reaction. Mix them in a plastic container large enough to fully submerge your tools. Glass works too, but avoid metal containers since the acid will attack those as well.
For timing, experienced DIYers report you should soak tools completely covered in white vinegar for 24 hours if rust isn't too severe, but extend that to 48 or even 72 hours for heavily corroded items. Check progress at the 12-hour mark. You'll see the vinegar turn darker as it pulls rust off the metal.
Want faster results? Consider cleaning vinegar instead of regular white vinegar. According to Garden Betty, cleaning vinegar has 6% acidity versus 5% for white vinegar, making it 20% stronger for rust removal. That extra percentage cuts soaking time noticeably.
After soaking, scrub tools with a wire brush, steel wool, or an abrasive pad. The rust should flake off easily now. Stubborn spots might need a second soak, but most surface rust surrenders after one treatment.
Here's the step most guides skip: neutralization. Don't just rinse and call it done. Mix 1 cup of baking soda per gallon of water and soak your tools for 10 minutes. This isn't optional. Experts at Branch Basics explain that the baking soda neutralizes acidity and causes vinegar trapped under rust to foam and loosen even more. You'll see bubbles forming as this happens. Skip this step, and residual acid keeps working on your metal, potentially causing pitting.
A few warnings: vinegar strips paint, so mask off any surfaces you want to preserve. It also reacts poorly with aluminum, creating dark stains. Stick to ferrous metals only. After neutralizing, dry tools immediately and thoroughly. Apply a protective coating right away, because freshly cleaned metal rusts faster than you'd think.
Alternative Household Methods: Baking Soda, Lemon, and More
Not all rust battles require heavy artillery. Your pantry probably contains several effective rust fighters, each with distinct advantages depending on your situation.
Baking soda paste works best for small, isolated rust spots. Mix three parts baking soda with one part water, apply to the rust, let it sit for an hour, then scrub with a toothbrush. It's gentle enough that you won't scratch the underlying metal, but don't expect miracles on heavy corrosion. Think of this as your go-to for maintenance work, not restoration.
Lemon and salt offers surprising speed. Testing by Apartment Therapy found this combination was the fastest of all household methods tested, especially with coarse sea salt. Squeeze fresh lemon juice over the rust, coat it heavily with salt, and let it sit for two hours. The citric acid dissolves rust while the salt provides abrasive action. This method handles light to medium rust beautifully but struggles with deeply pitted surfaces.
WD-40 and steel wool tackles light surface rust efficiently. Spray the tool, wait 10 minutes, then scrub with fine steel wool (0000 grade). It's quick and requires minimal setup, though you'll need proper ventilation and gloves. The downside? It works through physical abrasion, so you risk removing some base metal along with the rust.
For commercial-grade results, oxalic acid delivers serious rust-dissolving power. The Home Depot's guide notes you'll need 3 tablespoons per gallon of water with 20 minutes of soaking time. Phosphoric acid (found in naval jelly) converts rust to a black coating you can paint over. Both require careful handling and proper disposal.
Electrolysis represents the nuclear option for heavily rusted tools. Advanced DIYers recommend this method because it works like electroplating in reverse, removing rust without damaging the base metal underneath. You'll need a battery charger, washing soda, and a sacrificial piece of steel. The setup takes effort, but it's unmatched for restoring tools you thought were beyond saving.
For stubborn rust that resists chemical methods, sandpaper or wire wheels provide mechanical removal. Start with 80-grit for heavy rust, progressing to 220-grit for smoothing. It's labor-intensive but gives you complete control over the process.
Tool-Specific Rust Removal Techniques
Not all rusty tools require the same treatment. The wrong approach can turn a fixable problem into an expensive mistake.
Hand tools like wrenches, pliers, and screwdrivers are your most forgiving candidates. Their solid steel construction means you can use aggressive methods without worry. Soak them in vinegar overnight, attack them with wire brushes, or even use electrolysis. These workhorses can handle it.
Power tools demand a completely different strategy. Water is the enemy here. Even a small amount seeping into motor housings or switches can destroy the tool entirely. Stick to dry methods like wire brushing, sanding, or naval jelly applied with careful masking around any electrical components. If you must use liquid rust removers, disassemble what you can and work on isolated metal parts only.
Garden tools present their own challenges. This Old House explains that these tools are particularly prone to rust due to their exposure to moisture and soil, requiring thorough cleaning after each use. The good news? Most garden tools are simple steel without precision requirements. You can be aggressive with spades and hoes, but watch those sharpened edges on pruners and shears.
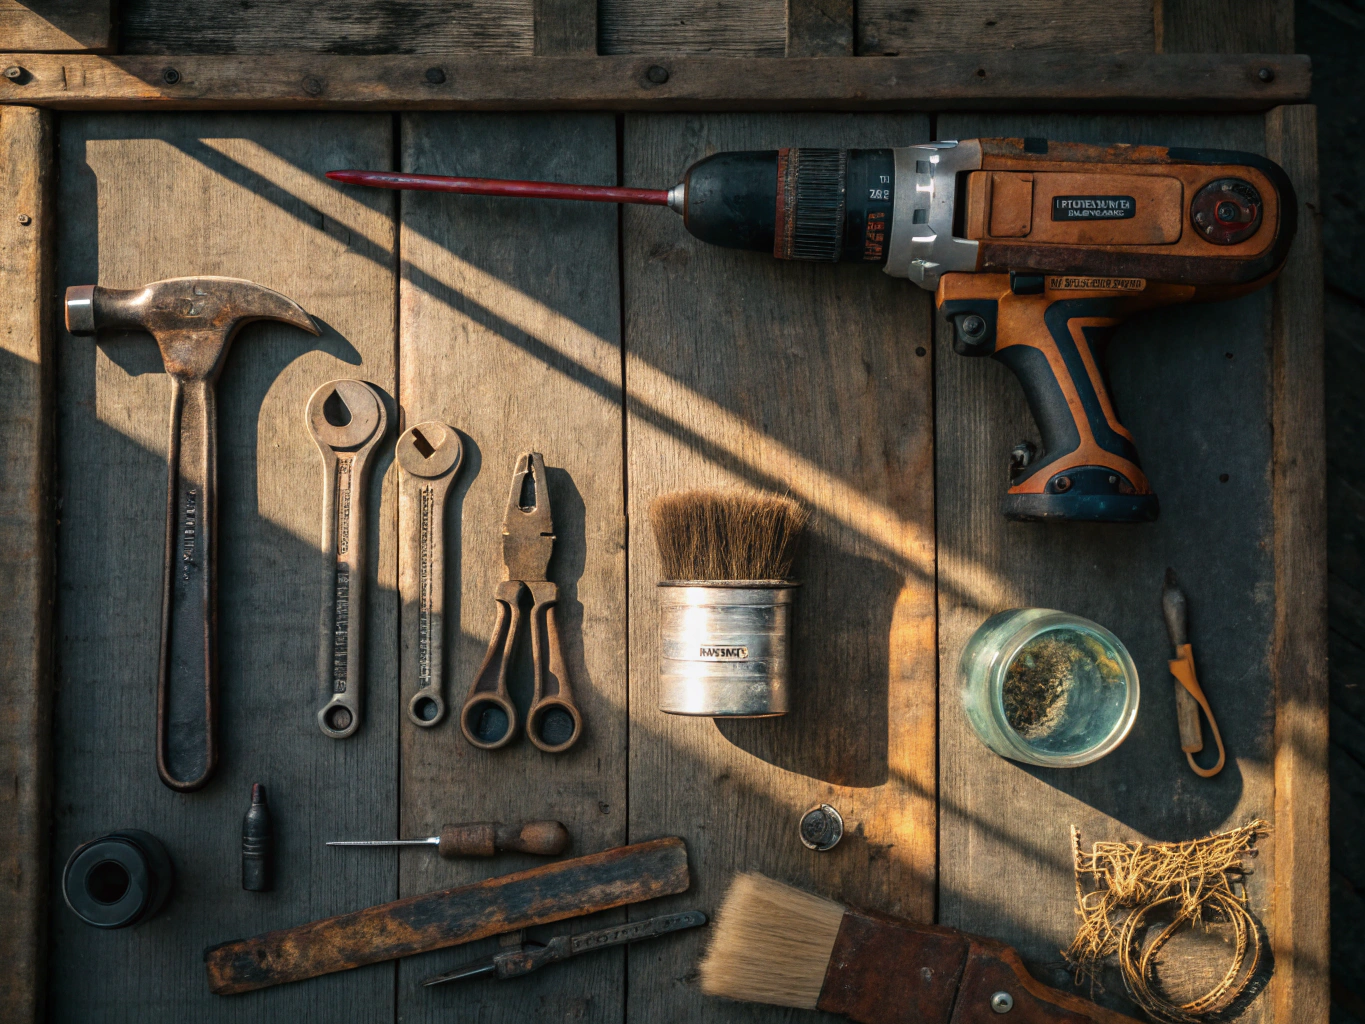
Precision instruments require a gentle touch. Woodworking expert Keith Mazzarello warns that if removing rust from precision tools like planes, you should avoid overaggressive methods that can ruin the extremely precise surfaces. Use fine steel wool and light oil instead of harsh chemicals or power tools.
For tools with wooden handles, protect the wood with painter's tape or plastic wrap before applying any liquid treatments. And if you're holding an antique Stanley plane or a pristine vintage Disston saw? Consider professional restoration. Some tools are worth more than DIY experimentation.
Preventing Rust: Protecting Your Tools Long-Term
Here's the truth: spending ten minutes on prevention beats spending an hour scrubbing rust off your favorite wrench. Once you've rescued your tools from corrosion, keeping them pristine is surprisingly straightforward.
Control Your Environment First
Moisture is the enemy. Store tools in the driest spot available, away from concrete floors that sweat and exterior walls that collect condensation. Family Handyman suggests making DIY rust-preventing pouches with silica crystal kitty litter in breathable fabric to keep toolboxes moisture-free. Toss a few in your chest and forget about them for months. Simple, cheap, effective.
Coat Everything
Bare metal invites oxidation. After every cleaning session, apply a protective barrier. This Old House advises using linseed oil or paste wax to seal metal surfaces. For frequently used hand tools, Garden Betty recommends applying 3-IN-ONE Multi-Purpose Oil after rust removal. Each option works; pick what suits your workflow.
For serious collections, VCI (Vapor Corrosion Inhibitor) products release protective molecules that coat nearby metal surfaces. They're pricier than oil but ideal for tools you don't touch daily.
Build Smart Habits
Wipe tools down immediately after use, especially if they've touched moisture, soil, or chemicals. Sounds obvious, but this single habit prevents 90% of rust problems. Keep a rag and oil bottle at your workbench for quick post-project wipe-downs.
Garden tool owners, try a clever technique from Family Handyman: fill a five-gallon bucket with sand mixed with boiled linseed oil, then plunge your spades and hoes into it several times after each use. The sand scrubs off debris while the oil coats the metal. Park the tools blade-down in the bucket between uses.
Schedule a quarterly inspection. Check for early rust spots you can address with a quick wire brush session before they become projects. Prevention isn't glamorous, but neither is replacing an entire tool collection.
Key Takeaways: Your Rust Removal Action Plan
Here's your rust removal game plan: Match your tool's condition to the right method and get started today.
Light surface rust? Grab lemon and salt from your kitchen. You'll see results in 30 minutes. Moderate rust with pitting? White vinegar overnight, followed by a baking soda scrub, is what experienced tool restorers conclude works best without breaking the bank. Heavy rust on valuable tools? Electrolysis takes more setup but strips rust from every crevice without damaging the base metal.
Replace only when: The metal is paper-thin, structural integrity is compromised, or restoration costs exceed replacement.
Your prevention checklist: Store tools in low humidity, apply a thin coat of oil after each use, and inspect monthly for early rust spots.
The truth is, rust gets worse every day you wait. Start with whatever method fits your budget and timeline. That rusty wrench in your garage deserves 20 minutes of attention today. Once you've won the battle against rust, maintaining clean tools takes minutes per month. Your future self will thank you.
Author
FirstSearch.AI Team